středa 29. března 2017

Interactive Board Advanced


A  What should the teacher do?

- present text, images, sound, animations, video, links
- give the class a chance to think
- support creativity
- use the time wisely
- motivate the students


B What should we include?
- a functional combination of text, visual support and audio
- variability of all sorts
- empty space
- motivating activities (games)
- feedback

C Technical skills to be mastered:
- inserting text
- inserting images
- inserting audio
- inserting links

- locking
- grouping
- using layers - covering one object with another
- containing
- magical window


Promethean Planet: Examples of IWB tasks
Youtube tutorials
How to use Containers
Multiple Containers
How to make a magic box
Creating Action Objects
Magic revealer window

Lesson Activity Toolkit  - Smart
5 Tips and Trick  - Smart


TIPS:

USING CONTAINERS
1. Text to be moved:
Identification: Name = Panda
Contain: Return if not contained = True

2. Image or a space where to put the text/answer:
Can Contain = Specific object
Contain Object = (Select Object) Panda
Contain Rule = Completely contained

Česká verze:
1. Text (objekt), s nímž se bude pohybovat:
Identifikace: Název = Panda
Kontejner: Vrátit, pokud není obsaženo = Pravda

2. Objekt (obrázek), kam se text/odpověď přesouvá:
Může obsahovat = Konkrétní objekt
Obsažený objekt = (Vybrat objekt) Panda
Pravidlo pro obsah = Úplně obsaženo


Magic revealer window (Activ)
http://www.youtube.com/watch?v=fNYwDJ0ghkc
http://www.prometheanplanet.com/en/Download.aspx?ContentId=76847

1.    Insert two images
2.    Put one of them to the Top layer
3.    Create a rectangle. Settings:
           a.    Margin (ohraničení) – cca 20
           b.    Výplň – Nic
4.    Activate the magic ink. Fill in the rectangle.
5.    Set the order of the resulting two objects (rectangle will be above the magic ink to make the margins smooth)
6.    Group them together.
7. Check the order of the layers: Object (the rectangle),  Pen (the magic ink) nad the upper image are in the upper layer in the mentioned order, the remaining image is in the middle layer.

středa 22. března 2017

Interactive Board


ITB works as a multifunctional tool: you can present text, images, audio, video, internet resources...
But you (or the students) can also INTERACT with the board - write answers to questions, drag and drop, draw, or play games.

Our task is to explore the possibilities of SMART and Activ IWB software. The editor works intuitively, and some choices are similar to those available in MS office. To get an idea, we will also evaluate some internet-available examples.

________________________________________

Homework
1. Check the specifications of Smart Board (*.notebook files) and Active Inspire (*.flipchart files).
Look here:
AV Media
Promethean Planet
2. Install both softwares into your PC. Follow the instructions given in the lesson.
3. Continue working on your project.
_______________________________________

CLASS TASKS

1. Browse some shared interactive board materials, to get an idea :)
http://www.veskole.cz/
http://www.jazykyinteraktivne.cz/
http://www.pekarjeucitelonline.cz/
http://www.gymnaziainteraktivne.cz/
http://www.activucitel.cz/

2. Create your own project! Open Smart or Activ Inspire. Start a new file.
Enter the topic and your name and date into the first slide.
Insert a text, an image, a weblink, explore the pen function.
Browse all menus. Feel free to experiment and have fun creating. :)

3. Explore the imbedded galleries. Look also for animations!

4. Create an activity to practise the set of vocabulary you chose for your project. For each task, include the feedback; a good tip is to duplicate the page, and solve the exercise there.

5. Use the last pages as T's book - write there the standard info (topic, target group) and methodological instructions fot the Teacher. Link the T's book to the first page and vice versa.

6. Do you know how to get the IWB material online?
Tip: if the file is too big to be put into webzdarma directly, save it into some permanent online space (e.g. dropbox) and enter the link into your web.


úterý 21. března 2017

Audio

Audio material is regularly used when teaching speaking and listening in foreign languages. Therefore the teachers and the students should be able to edit and modify audio as well as texts.
Probably the best freeware available for editing sound is called AUDACITY.


Audacity Basics - you should be able to
- install Audacity and the lame library which enables export to mp3
- open a file in Audacity
- edit the file: cut and paste, fade in/out, change speed, delete, add silence
- create a new file
- combine two files (e.g. speech + background music)
- inserting silence (e.g. as a space for an answer)
- changing the speed or pitch (carefully!)


TASK 1 - TEACHER'S JOB
Browse Youtube for videos suitable for the topic you chose for HotPot tasks.
View, listen and choose; consider the target level and age!
Convert the video to mp3 using an online convertor.
Cut out a part of the recording, add an appropriate task and illustration and publish all that in your HotPotaoes index webpage (see the related blog entry for details).


TASK 2 - AN EXAMPLE OF A STUDENT TASK
You have just become a radio reporter!
Listen to the story of a toddler falling into a gorilla cage at Youtube. Another link HERE.
Find more stories covering the same or similar incidents.
Download the material converted into mp3.
Combining the available audios, create a thrilling radio report about the troubles caused by irresponsible ZOO visitors (max 70 seconds long).
If you feel like it, find more sounds (e.g. crowd shouting, Zoo animals sounds etc.).
Upload the story with an appropriate illustration to your web.

OR choose your own topic, download materials and edit your own story!

You can use Free YouTube to MP3 Converter to get audio from youtube easily, or find xonline converters, eg. Convert2mp3.


TASK 3 - EXAMPLES OF GOOD TEACHING PRACTICE
2. What does the word "podcast" mean? Go to Podomatic, create an account and browse the site. How can we use it in teaching English?

Good examples - Teacher Luke at PodomaticSplendid Speaking for advances learners

Podcast on podcasting in ELT


Sound files extensions:
wav -  Standard audio file container format used mainly in Windows PCs. Commonly used for storing uncompressed (PCM), CD-quality sound files, which means that they can be large in size—around 10 MB per minute. Wave files can also contain data encoded with a variety of (lossy) codecs to reduce the file size (for example the GSM or MP3 formats). Wav files use a RIFF structure

mp3 - compressed, MPEG Layer III Audio. Is the most common sound file format used today

flac - Free Lossless Audio Codec
ape - Monkey's Audio lossless audio compression format
ogg - A free, open source container format supporting a variety of formats, the most popular of which is the audio format Vorbis; compression similar to MP3

webm - Royalty-free format created for HTML5 video
aiff - Standard audio file format used by Apple. It could be considered the Apple equivalent of wav

ref: https://en.wikipedia.org/wiki/Audio_file_format


Sluchové pole (nebo oblast slyšitelnosti) je rozsah všech zvuků, které dokáže lidské ucho vnímat. Vnímání zvuku je u člověka omezeno slyšitelnými frekvencemi (přibližně 16–20 000 Hz). U každé frekvence je odlišný rozdíl intenzit, jež slyšíme. Lidský sluchový orgán je nejcitlivější v oblasti frekvencí 1–5 kHz.

http://www.wikiskripta.eu/index.php/Pr%C3%A1h_sluchu_a_sluchov%C3%A9_pole


pondělí 13. března 2017

Working with Images


HOMEWORK

1. Make a collage of two photos - as if creating a hoax image. Insert the final photo with a suitable comment into your Homepage (index.html) and publish online.

2. Prepare 10 images which you will use in your vocabulary teaching HotPot project. Keep them in the original size + make the same set in web version (max size 40kb per image).

_______________________________________________________

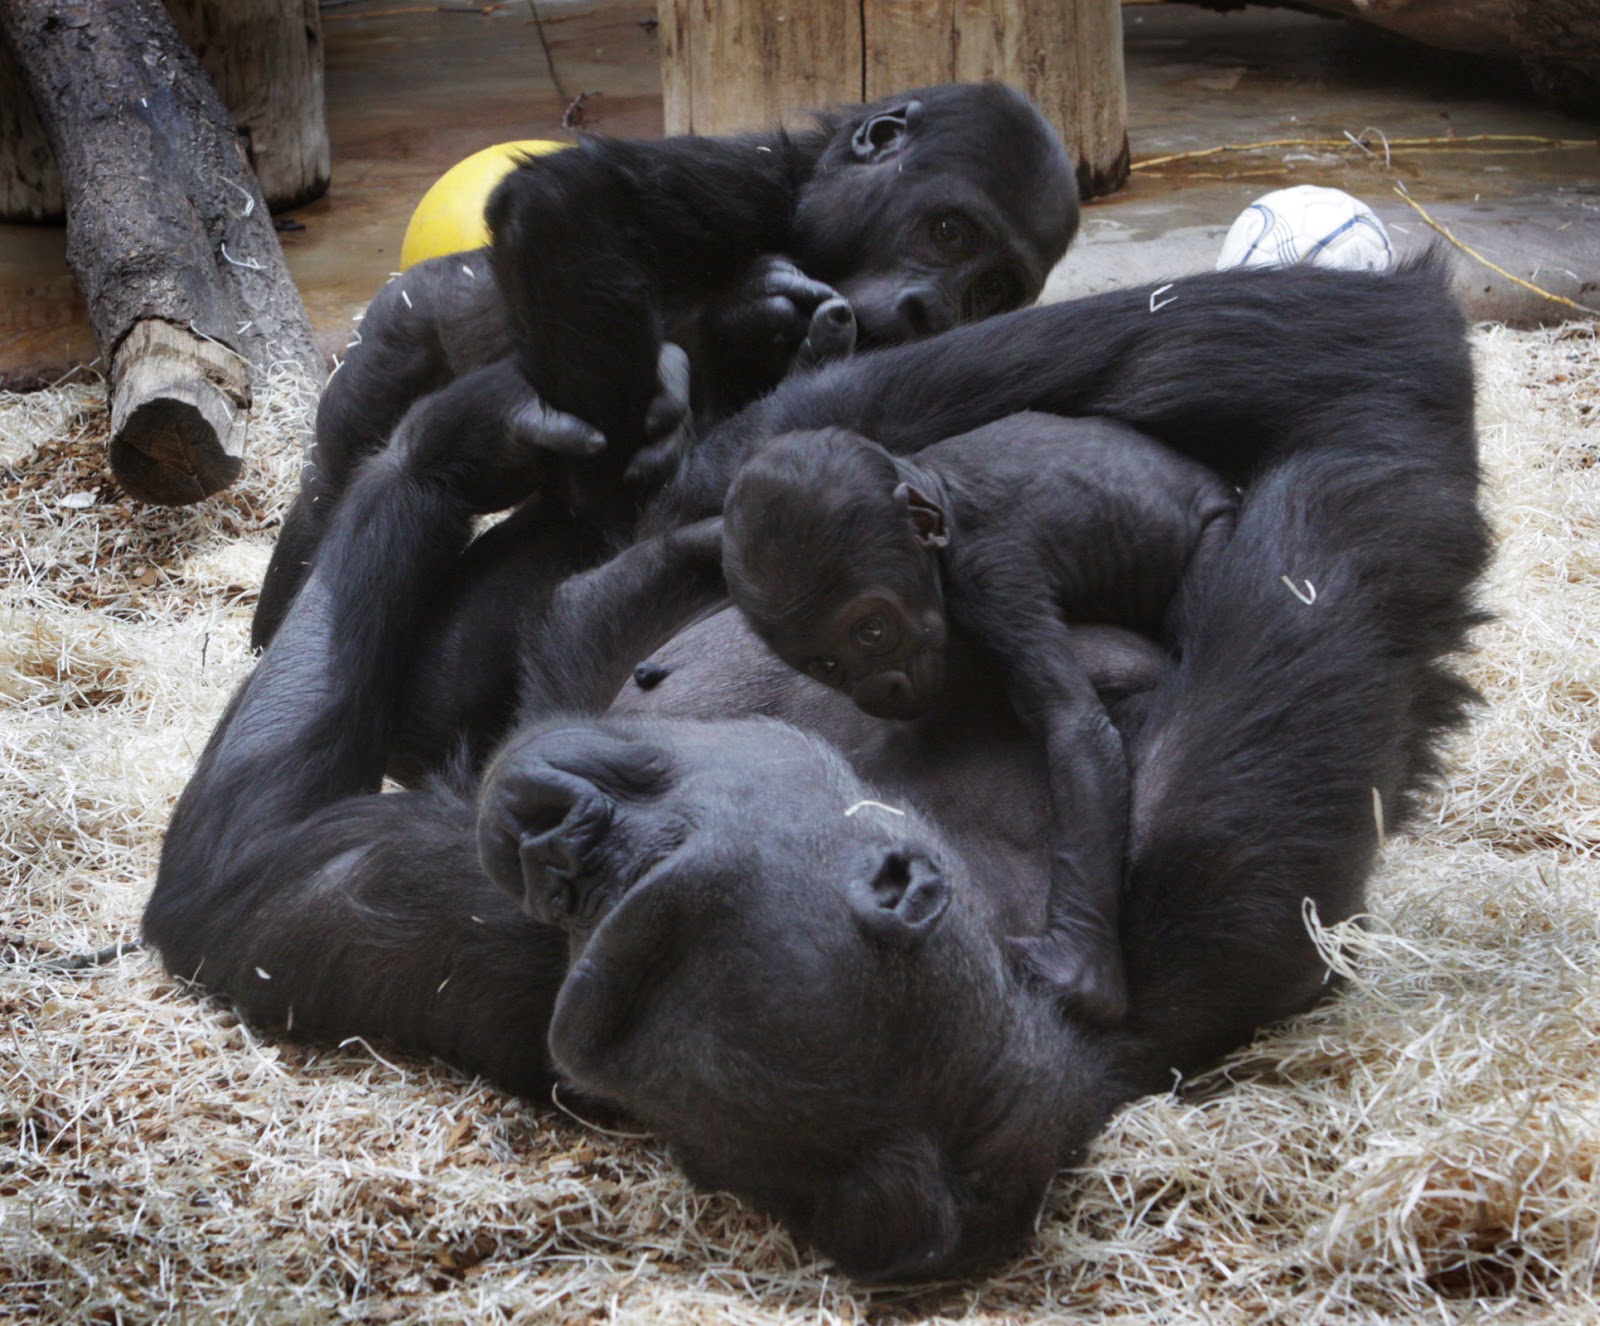
Visual support is vital in any teaching situation. As English teachers, we use pictures of objects to teach vocabulary, photos of situations to stimulate communication, authentic visual materials to teach realia and culture...

What characteristics of an image influence its effect on remembering the vocabulary?
  • context or the absence of context
  • vivid colours
  • contrast
  • golden ratio
  • the size of the target object
_______________________________________________________

 WHAT ARE THE KEY SKILLS IN THE FIELD OF PHOTOGRAPHY FOR  THE ENGLISH TEACHER TO MASTER?

My suggestion:
1. Basic knowledge of the electronic image formats and their specifics.
2. Basic editing abilities: crop, contrast, colour adjustment
3. Basic photo-making skills and knowledge (to be able to prepare original materials, and to document school events, projects, students'activities and products).

4. Advanced editing abilities - collage (to create more original materials, and to be resistant to hoax), inserting text to the image...

Typical Viral :D

Any other suggestions?

_______________________________________________________

It is easier and more satisfactory to use one's own images and photos instead of stealing them from the web and risking troubles.

A teacher should be able to:
- draw a picture, scan, save and publish
- make a good photo which he/she can use in teaching, edit and save


The difference between good and bad photos is obvious to anyone! And it is not so difficult to follow several basic rules to make your photos better.


_________________________________________________________________

What shall we know?

1. How to compose a photography
Practical composition (in Czech) 

Practical tips:
concentrate on a single idea, object, feeling
get closer, fill almost the whole field with the target object/situation


2. How to save an image
raw - full data
jpg - compressed (lossy)
tiff - for print, usually lossless; can handle CMYK
bmp - full data (bitmap)
gif - small (and animated); saves only used colours; 8bit
png - lossless, successor of gif, 8-24-48 bit

For web, an image with the longer side of 1600px is big enough, Let's say the size limit is cca 50KB - to save space.
When reducing the size, always keep the original untouched! Save the small version as a new file, say, IMG2345_Small.jpg. 
JPEGS reduce the size exponetially, so if you reduce the original at 80%, the amount of data may be reduced form 12MB to 1,5 MB. 


More in Wiki (in Czech)
and Wiki (in English)


_______________________________________________________
What shall we know?
3. The basic editing skills you should master:


1. Compressing, saving in various formats (with different extensions) and size
2. Crop (ořez)
3. Changing brightness, sharpness, hue and other basic features
4. Making a part of the image transparent


Tasks:
1. Open your image in Photoshop. Work with Crop first (C). Remember - the main part of the image should be taken by the main object (or idea, or situation)
2.  Use LEVELS to set the Lightning (Photoshop: Ctrl+L, or Obraz - přizpůsobení; Menu in Gimp: Enhance - Adjust Lightning - Levels)
3. Adjust sharpness. play with blur :)
4. Working with layers and masks in Photoshop:
Open the image
Duplicate the layer (Ctrl+J)
Choose the type of layers combination (Měkké světlo, závoj...)
Přidejte masku vrstvy (možnosti - odkrýt vše nebo skrýt vše)
Malujeme do masky!

COLLAGE
5. Use GIMP: Find two images and combine them into one, applying transparency (e.g. Donald Duck walking through Usti nad Labem :) )
6. Advanced: Try to do the same in Photoshop: make a collage of two photos!
tutorial in Czech
 List of  Photoshop Hotkeys - EN
List of  Photoshop Hotkeys - CZ

B - Brush
C - Crop
H - Hand
J - Healing brush
L - Lasso
S - Stamp
W - Wand

TIPS
How to make things transparent in Photoshop:
New Image - Background transparent
Import the image into a new layer
Magic wand - choose parts which should be transparent

Layer - Mask - Hide the choice (Vrstvy - maska - skrýt výběr)

How to make things transparent in GIMP:
Layers – Transparency – Add alpha channel
Choose the background using the magic wand.
The simplest method is to use Edit → Clear

You can also test transparency in Word - add the image into text and choose Formát obrázku - pozice - před textem.


Want a top quality image legally?
Visit Getty.

_________________________________________________________________

Product Photo
Choose an object within the class and make a picture which shows only the object - as if you needed an illustration of the word.

What shall we know?
4. How to make a photo of an isolated object
check the background
fill amost the whole image with the object
search for light
use simple aids, such as lamps, scarfs, sheets of paper
experiment 
Link to Product Photography at digineff

_________________________________________________________________

... want to know more?

"Kreativní fotografie si neklade za cíl zobrazit realitu (takové to tam Mařenko bylo) ale zobrazit 
něco víc. Zobrazit emoce (pocity, nálady ...), které autor na místě cítil a chce vám předat.
Když se díváte na fotografie z vaší dovolené obvykle si vybavíte pocity, jaké to tam bylo (jé podívej - tady jsme byli ...). Díváte-li se ale na fotografie z cizí dovolené, vidíte jenom obyčejné pláže, hrady, zámky atp. Prostě emoce spojené s místem a zážitkem vám chybí a proto vám často tyto fotografie připadají obyčejné. Dobrá fotografie vám dokáže předat pocity a zážitky i z míst, kde jste nebyli. A o tom to je...
Když stojíte v lese, vidíte široko okolo sebe, vnímáte vítr, šumění lesa, vůni jehličí a do zad vás pálí slunce. Toto vše na fotografii však chybí. Je tam jen obrazový výsek a to ještě ve 2 rozměrech (3 rozměr prostoru / perspektivy chybí). A proto je to tak těžké. A proto je pokoušet se o to taky tak krásné!"